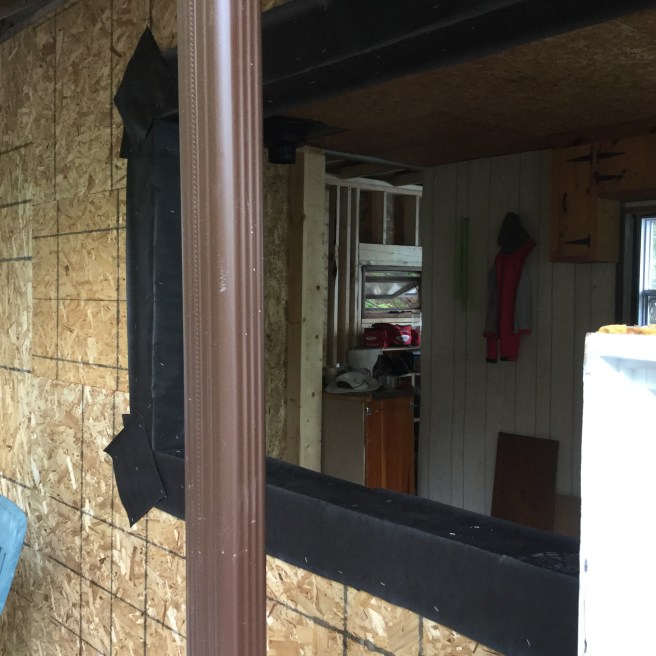
Well this is a very exciting step indeed. In this last step we will be replacing the very last of the outside wall. Essentially a new home….. (with the exception of the ceiling and everything above it, and the floor and everything below) (and of course MOST of the materials we are using are recycled, which is the fun bit) Old windows are way more interesting that new ones…. and not always totally predictable. The window we are putting in this spot, we had to do some repairs on, as it had been damaged when it was being removed from its previous home. I am always totally confident that Ken can fix anything so I did not hesitate to take a damaged window. I am sure at times he wishes I did not have QUITE so much confidence in his abilities. SO this is the kitchen complete with a blue stove that only 2 burners work on. We have decided to get rid of it, since it taking up WAYYY to much space for its abilities. The counter tops here have all been purchased at RESTORE last year. You will notice that I have also painted everything red

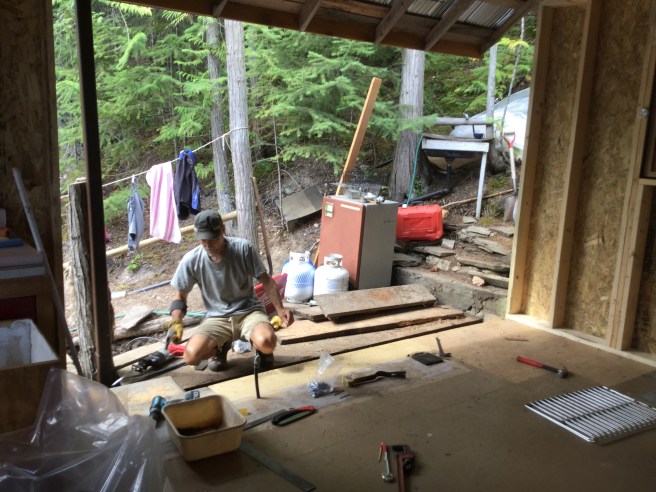
This is the last part of the wall from the outside… obscured by the laundry 🙂

..and yet another before picture.
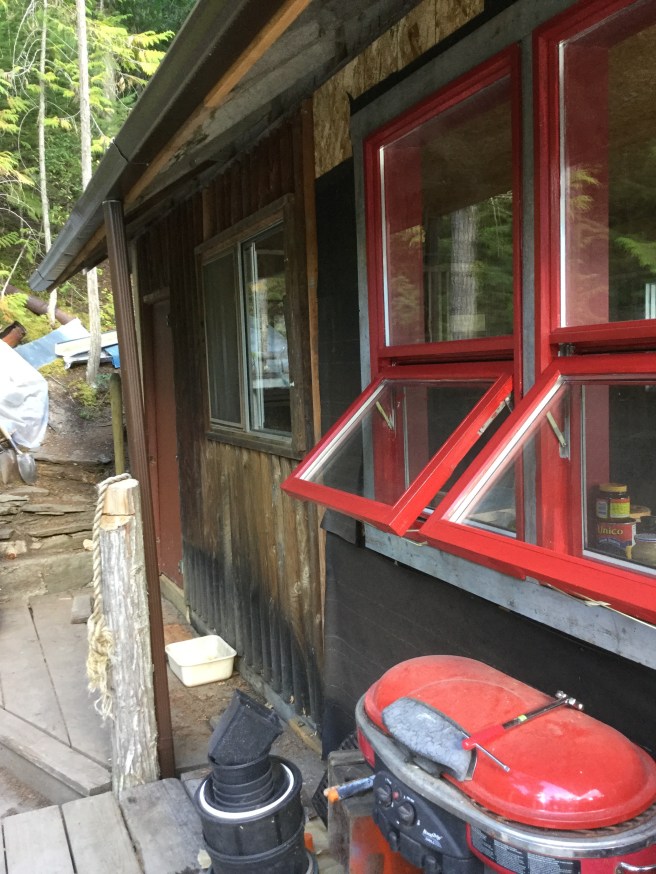
As you can see a lot of water damage. We figure, likely because snow has sat on the deck in the winter, melting and soaking the wall. We will take this into consideration with our new siding.
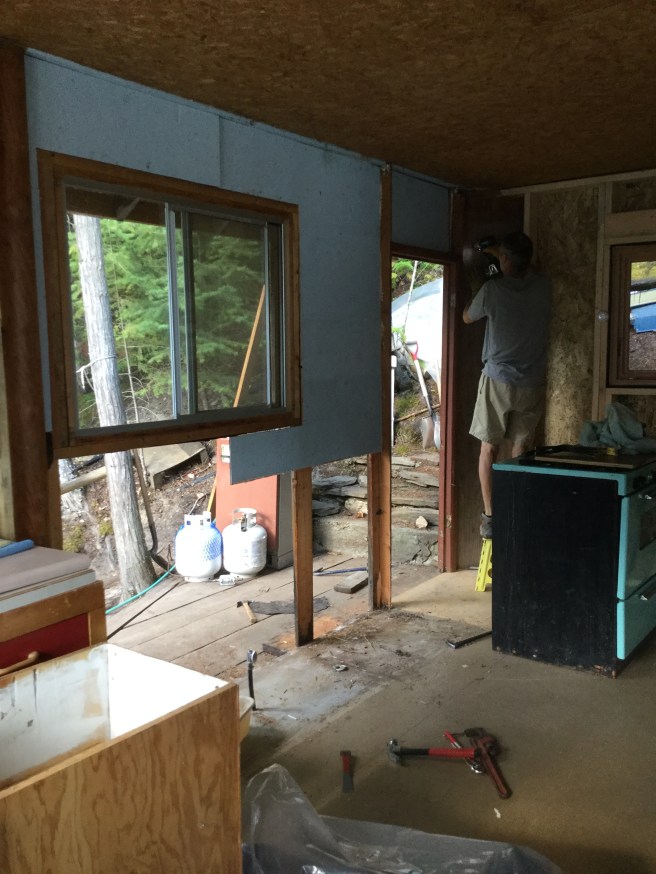
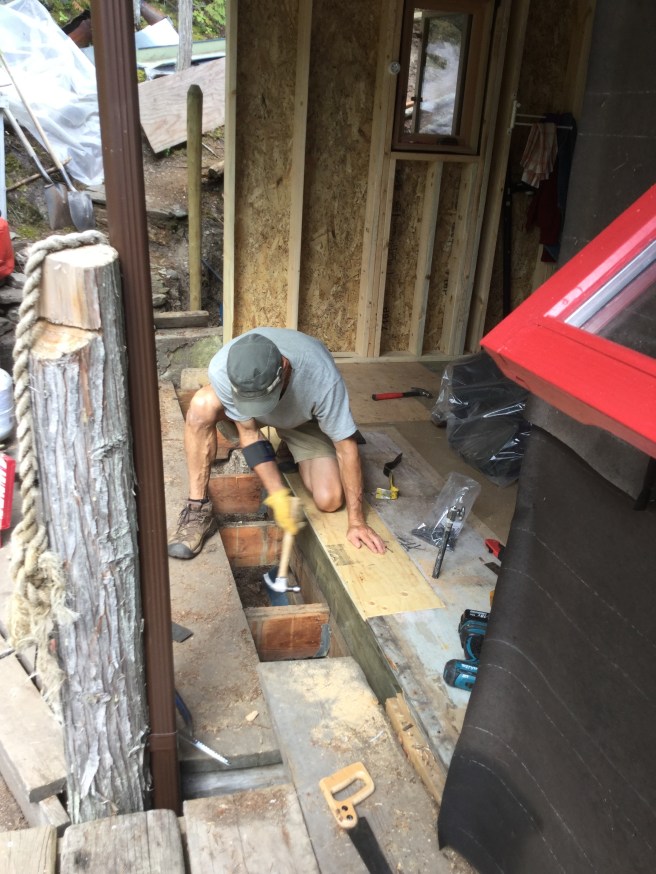
SO DESTRUCTION once again and now since it has been 8 weeks since I broke my shoulder, it seems to be healed enough to be knocking out walls. Ken cannot have all the fun.
some of the floor rotting.. will need to also replace.

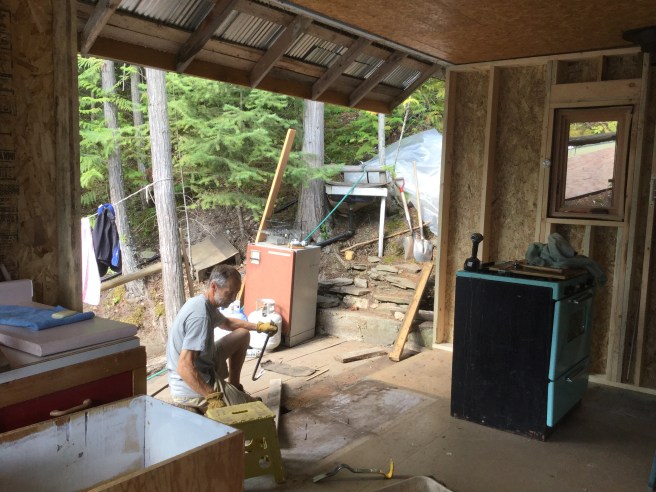
OK so the destruction is complete, at it is only 10 AM
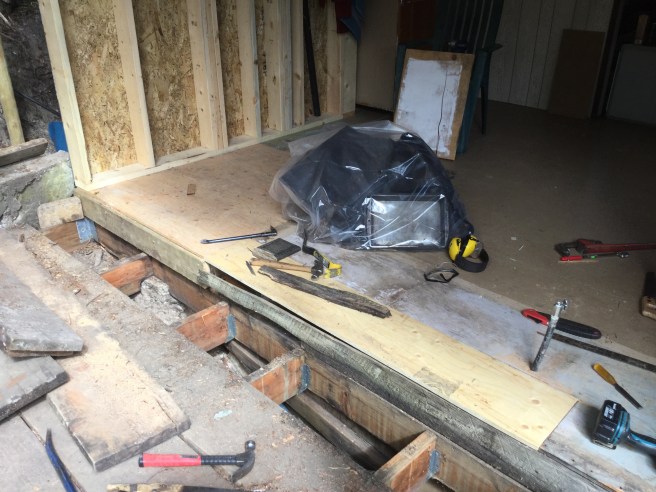
all fixed….
floor fixed.
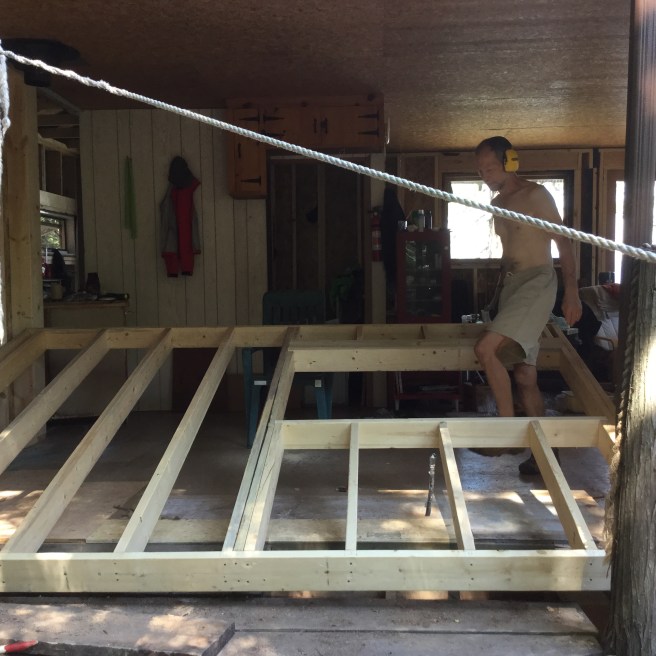
I took the following picture to show how we actually got each of these walls into place. After the first wall we decided it was easier to hit the frame with a sledgehammer from below than from above, so we move the piece into place at the top and then sludge it into place from below. (bear in mind that this is a massive over simplification, as you can imagine)

We decided that it was likely a whole lot easier to build a house, than to renovate another one, it would be SOOO much easier to build a wall and THEN put on the ceiling vs the alternative. We ran into a major problem here …. we were having to slide the framed wall into place because a pipe bringing water to the kitchen sink was in the way. We tried drilling holes in the floor to move the pipe over. Unfortunately BLUSH, I drilled a hole in the pipe causing a flood… that put us WAY behind….. and without a kitchen sink for now.

and the we got the board on the outside, just in time for the big storm…
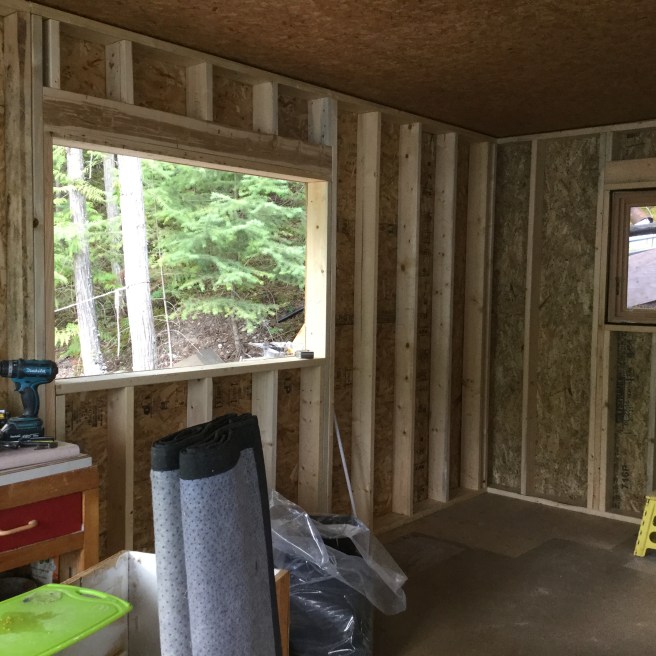
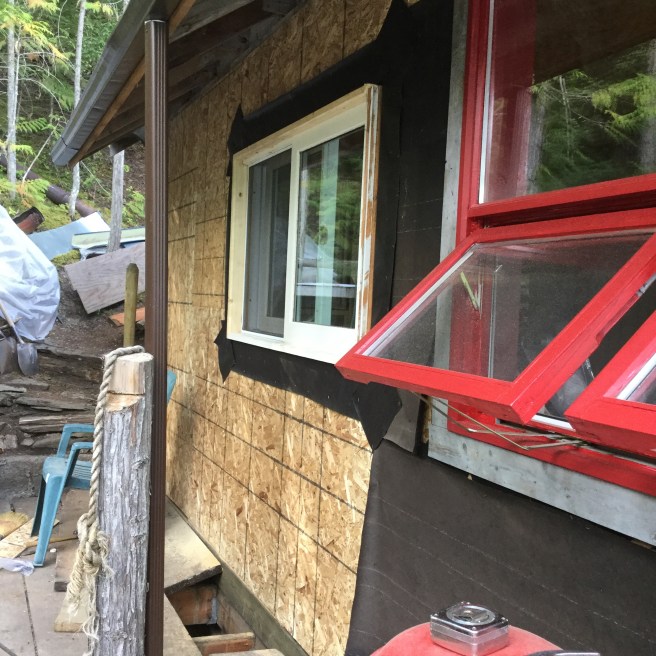
So tar paper around the window.

This is the lovely rebuilt window from my sisters house. The kitchen is brighter already.
So there you have it the last wall, and the place is a total disaster, but at least the wall is up.
So now the fun begins….
