Rogue River Agates

The agates from the Rogue River.

We spent a night at the campground right down on the Jetty in Gold beach.  Ocean very rough, swells large, so we found a gravel area mid way up the jetty, where it was a little safer. Met one of the regulars, and he “educated” us about the local agates.

img_1239

They are much larger than the ones we have found elsewhere, and quite rough. He told us that is because they are coming down directly from Crater lake, so “Fresher” more recent agates that have not been churned and tumbled by the ocean. They have large pits, and our experience from last year is that these ones are much harder to tumble, perhaps we just need to use a different technique.  WE LOVE this campground, but not one you would want to be in, in a tsunami.  WE did in fact hear a siren and were madly checking the news…. but they DO have to test their tsunami warning sirens from time to time.

Since we have not had internet enough to post pictures I have gotten way behind in my blog, so am catching up now. (This is from over  a week ago, we are now in Carson City.)

Agates 101…….

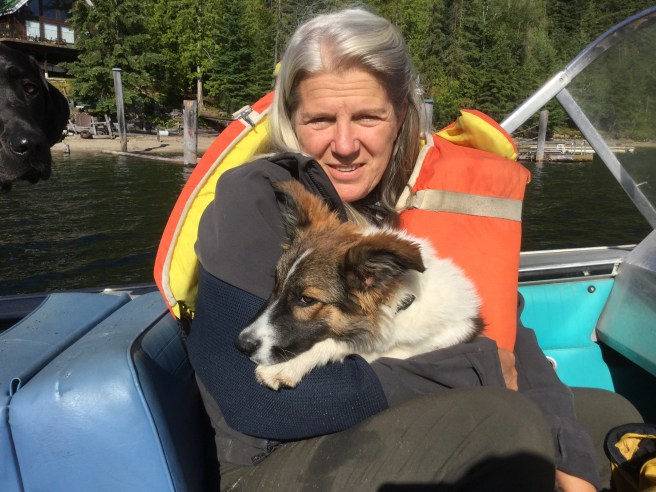
We have left the cabin tarpapered for the winter, planted 1200 garlic, harvested our grapes,

img_1082

and other fruit, and got our motorhome ready for the trip down south. WE did bring 12 jars of homemade heirloom tomato sauce, 5 jars of Jam, several bags of frozen raspberries, and even delicata squash, which I looked into on the border (what can I bring) site and it is all allowed, so we have MUCH of our garden.  My only concern was several thanksgiving day dinner leftover dishes, because they had meat in them. In the end we left them with Kens uncle in Chilliwack, who had just got out of hospital and maintained that those dinners saved his life  🙂

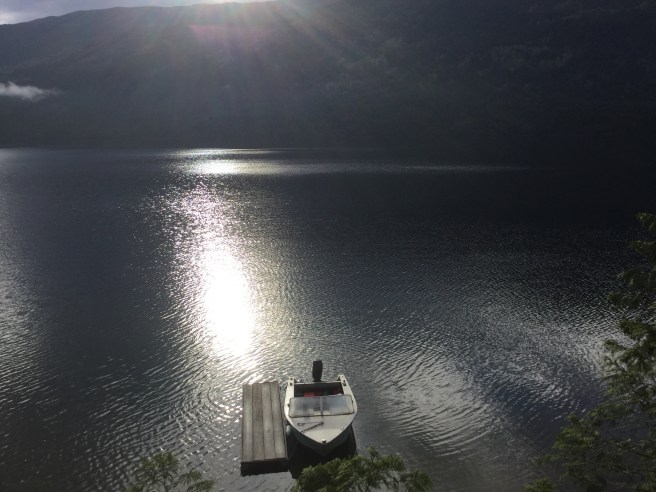
We had a lot of problems last year with leaking and eventually the whole roof started leaking in a storm, so had to replace that while down here.  Ken has done a lot of other repairs over the summer. It is a 1995 motorhome, so par for the course.  We are in Oregon, where we lived for 13 years, visiting friends, walking beaches, mushroom picking and …

so….a rainy day on the coast, imagine that! Time to once again resume my blog, especially now that we are onto our next obsession: agates.  These are from last year, we learned also how to tumble them.

img_1491

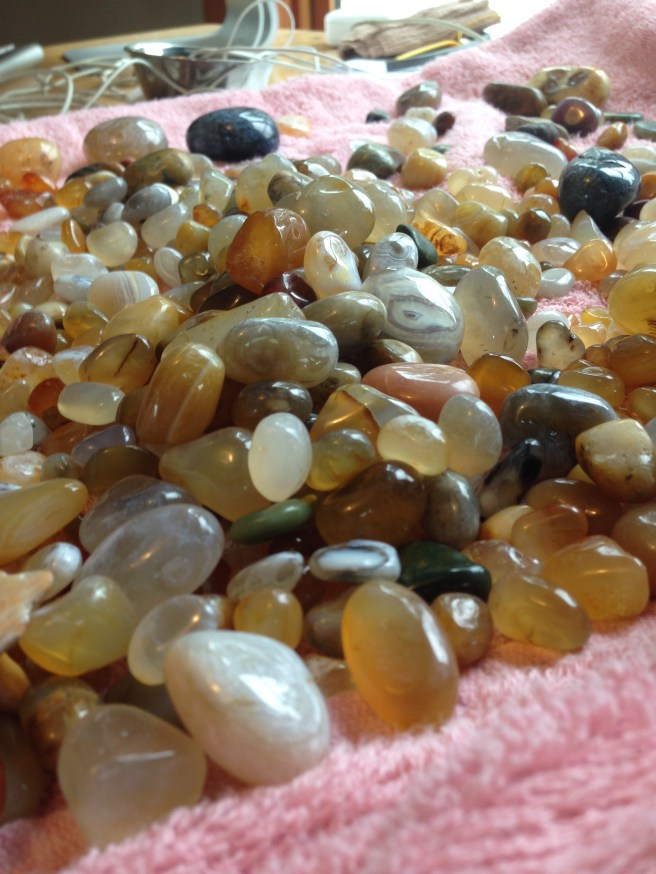
Only thing is that this year is our second year of being rock hounds, and while last year we were adolescent rock hounds, going mainly for the shiny agates, the prettiest  ones we tumbled from last year were the Jasper. Our “repertoire” has essentially doubled.  We are now looking for pretty jasper.

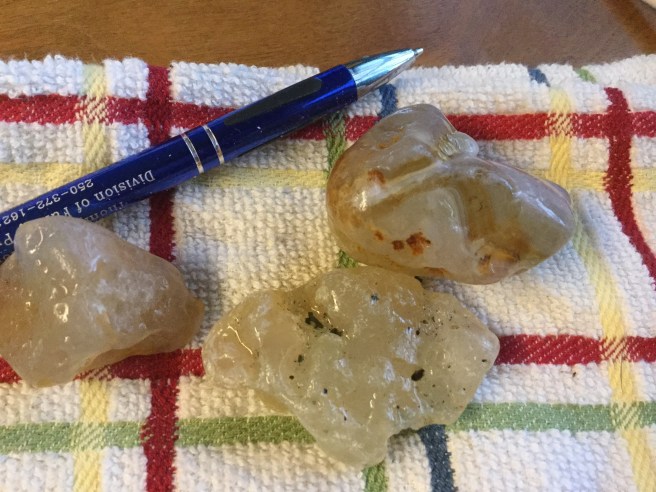
Agates, from what we learned last year, are formed from silica bearing waters that fill the gas bubbles in solidifying lava,  creating a gel.  The water, being alkali, reacts with the iron in the lava, which when it dries leaves lines of iron hydroxide, which forms bands in the finished agate.  I have seen the layers described like the Russian dolls.

Last year we met people on our beach walks who told us what to look for, and so then we had to find out where to find more.   We have only searched on ocean beaches, but they can be found in many other situations. In general they tend to be near where rivers meet the ocean, bringing agates down from areas where volcanoes have erupted years ago.

They say that agates are found near where rivers meet the ocean, and so we fully investigated the Elk river, the Sixes river and the Coquille river.

Problem with the Coquille river is that it has a large jetty fortifying the mouth of the river. I believe that that complicates the agate journey, so very few agates near the Coquille. However the Elk river opens into the ocean a few miles south of the Cape Blanco lighthouse and some days we found agates. It is a 1.5 mile walk down the beach to get to the river, and you might find agates there one day, and the next day it might all be sand, but for us we love the walk anyways.  In many ways we just need a reason for the walk, we also love hunting for mushrooms.

This year we walked to the Elk river from the south side, Paridise point. It was about a 3.5 mile walk.

The thing about agates is that over the summer they lie deep under all the sand that the wind brings, and they are only revealed when the winter storms with the large swells drag the sand back revealing the hidden treasures.  There are some “agate beds” that remain hidden for many years, only becoming visible with the most severe storms.  We were amazed last year with beaches like Merchants beach. It is north of Bandon, which is a very flat beach, all sand. WE were wondering what the booklet said about finding agates there, as we found nothing but old car engines,

img_1285

but then one day it all opened up and it became a gravel beach with large stones.  Mostly jasper… more on that later..  The other thing that is interesting is how much the direction of the river changes day to day, and year to year. I guess that is part of the reason for the Jetties….as well as break waters. I mean one day you could be river frontage and then next day you could be IN the river.

The next thing is the tides. It seems that the really low tides in the winter are always during the night.  THEN the size of swells, which I did not fully appreciate until being out on a low tide day with large swells, might just as well have been a high tide. Also on a high tide day with no swells it is like a low tide.  So figuring out how to get down a beach that disappears during a high tide, is important to make sure you do not get stranded somewhere.  Rain and wind are only “relatively” important. Depending on how water proof your clothes are, and just how motivated you are. We have gone out on days we should not have….. not photos though.

It really helps, when you are looking for agates, if the sun is shining. The sun actually “lights them up” like little lanterns, so you will see a bed of gravel and when you are facing the sun, the agates will shine like little flashlights.

So an ideal day is sunny, lots of gravel and a favourable tide.  Here are a few that show the lines..img_1163

The fall update

Summer has abruptly ended, at least the warm summer nights did. Our cabin project was moving along, and we miscalculated how quickly we would need heat at night.  Since we took out the wood stove to put in the back wall,  we have had no means of heating.  Just last night we finally got the new/old wood stove installed.   It was a stove we were given, by friends who had removed it from a cabin they were going to rent out. (GOOD IDEA). The stove is very small and is a very old Norwegian stove, called ULEFOS. The company began in the 1700s making stoves, and is no longer making them. They clearly knew what they were doing, the stove is very solid, and beautiful.img_1072img_1071

img_1069


Other things since the last post… Basement. We would like to ignore the basement, but we have friends from the US who have threatened to move up here if Trump is elected, and other friends who have threatened to move up here is Hillary is elected so we figured we needed to get a move on on the downstairs bedroom  🙂

There is a bedroom under the main living room, that was essentially an afterthought and has not been at all impervious to mice. YEARS AND YEARS of mice. Last year we took down the ceiling to expose generations of mice communities, and all they leave behind when the go, (in more ways that one). We have struggled to get rid of the smell, thinking it was essentially coming from the MICE RUINS within the ceiling.   Well apparently there were suburbs  in this mice haven, the ceiling being the BIG CITY, with the suburbs in the walls. At first we thought about taking out the inside walls,  but THEN we decided it might be better to take out the outside walls.img_1027

that is a destruction tool in my hand. I tend to be better at destruction than construction.img_1031

so inside wall exposed and lots of remains of mice going and going and going….

img_1032

and can you believe it, we just happened to have a window to fit into that spot, so that the room could have a southern window.

img_1074

Then the front wall of the basement

img_1039

img_1041img_1042

So while I worked on the downstairs, Ken worked on the upstairs,  moving the bedroom wall over and making a place for the composting toilet.

img_1034

img_1038img_1043

Other areas of work have involved a fridge.  We have been trying to find a fridge that we can power with our solar system, but all quite expensive right now and one of our neighbours out here suggested that the old fridge that is covered with tarps and we have been trying to figure out HOW we will get rid of……. might work.

So Ken took to his mechanical skills,  puttered away with it for awhile and lo and behold it DOES work.  img_1064

After some research, I estimate it to be from about 1954 or so.  They were eventually  recalled, as being unsafe, so we will likely keep it outside for now.

img_1065

It is lacking proper seals around doors, but all and all a decent fridge, think I will paint it red, and put a green peace sign on it  🙂

The other item we found down in the “dungeon” a scary room in the basement…. was this little stove … originally from an RV  (again back in the 50s). All the burners work, and so does the oven EXCEPT the oven only has a top heating element, so great for broiling but baking…. not so much. I think we will try to find another one, perhaps  few years newer with a lower element.

img_1025

So I think that catches the blog up to where the house is ….except for my bear story….the one that got away….img_1045


The final outside wall….

Well this is a very exciting step indeed.  In this last step we will be replacing the very last of the outside wall.  Essentially a new home….. (with the exception of the ceiling and everything above it, and the floor and everything below) (and of course MOST of the materials we are using are recycled, which is the fun bit)  Old windows are way more interesting that new ones…. and not always totally predictable. The window we are putting in this spot, we had to do some repairs on, as it had been damaged when it was being removed from its previous home. I am always totally confident that Ken can fix anything so I did not hesitate to take a damaged window.  I am sure at times he wishes I did not have  QUITE so much confidence in his abilities. SO this is the kitchen complete with a blue stove that only 2 burners work on. We have decided to get rid of it, since it taking up WAYYY to much space for its abilities. The counter tops here have all been purchased at RESTORE last year.  You will notice that I have also painted everything red

IMG_0973

This is the last part of the wall from the outside… obscured by the laundry 🙂

IMG_0974

..and yet another before picture.

IMG_0980

As you can see a lot of water damage. We figure, likely because snow has sat on the deck in the winter, melting and soaking the wall. We will take this into consideration with our new siding.

SO DESTRUCTION once again and now since it has been 8 weeks since I broke my shoulder, it seems to be healed enough to be knocking out walls. Ken cannot have all the fun.

IMG_0984

some of the floor rotting.. will need to also replace.

IMG_0985

IMG_0987

OK so the destruction is complete, at it is only 10 AM

IMG_0989

all fixed….


IMG_0991

floor fixed.

IMG_0994


IMG_0998

I took the following picture to show how we actually got each of these walls into place. After the first wall we decided it was easier to hit the frame with a sledgehammer from below than from above, so we move the piece into place at the top and then sludge it into place from below. (bear in mind that this is a massive over simplification, as you can imagine)

IMG_1005.jpg

We decided that it was likely a whole lot easier to build a house, than to renovate another one, it would be SOOO much easier to build a wall and THEN put on the ceiling vs the alternative.  We ran into a major problem here …. we were having to slide the framed wall into place because a pipe bringing water to the kitchen sink was in the way. We tried drilling holes in the floor to move the pipe over. Unfortunately  BLUSH, I drilled a hole in the pipe causing a flood… that put us WAY behind….. and without a kitchen sink for now.

IMG_1008

and the we got the board on the outside, just in time for the big storm…

IMG_1010

So tar paper around the window.

IMG_1013IMG_1016

This is the lovely rebuilt window from my sisters house. The kitchen is brighter already.

IMG_1017

So there you have it the last wall, and the place is a total disaster, but at least the wall is up.IMG_0953

So now the fun begins….

All work and no play

The last two changes will catch this blog up to present day with regards to the cabin renovation.  We have some very unique/unusual/funky plans for finishing.

This first picture is of the west wall. We decided that you just cannot have too many windows…. especially since on hot days there tends to be a bit of a breeze coming down the bank, in the evenings….. so we found 2 VERY cool BRAND NEW windows at “Habitat for humanity/restore” (which by the way is where we get a lot of our building materials). As you can see they are both wood windows, they ARE made for a 2×4 wall, but we will fill in the difference. There will ultimately be a wall in front of all of this as these two windows will ultimately be part of the bathroom.IMG_0918

The window on the right will be at the back of the composting toilet, and the one on the left will be above and to the left of the sink. (which we have just found an old sewing machine top to serve as the bathroom vanity)  Below is an example of what we did in our  scotch creek house with an old sewing machine in a bathroom…..IMG_1876.jpg

So this is the back of the cabin avec  windows…….  OH and with roofing tiles

IMG_0920.JPG

Then today was the matter of replacing this one little part of the North wall ……Bringing the outside wall replacement to 3 1/4 out of 4…!

IMG_0926.JPG

and voila!!!

IMG_0945

Ken and JoshIMG_0937.JPG

All work and no play…… makes Ken………..

IMG_0943


The west wing addition

OK, I feel that perhaps this part of the project is a little tedious for the reader, however I feel that it is important to document all of the changes, so that things later on can be more readily understood.

So the next step was to frame in the outside wall of the addition, prior to taking down the OLD wall. This part was frustrating for me as I struggle with delayed gratification. I want to see it all right now.

OK so here is where we left it off, a wall extending out further than the adjacent wall…. leaving a HOLE IN THE WALL.

IMG_0825

So this is Cooley, my son Dylan, and his girlfriend Sarah’s pup.  I told Coolie that the wall was going to fall down and she is watching patiently.

IMG_0829

Told you Coolie……


IMG_0831

So this is the frame of the back wall of addition… the west wing…..

IMG_0832

Ok and now the roof of the addition……

IMG_0836

IMG_0838

IMG_0841

TIME to take Coolie home and she has never been in a boat…..

IMG_0845

IMG_0851

Outside wall of west wingIMG_0859

IMG_0857

rather complicated roof line over west wing….

IMG_0861

…and windows……

IMG_0864

GONE FISHING>>>>>>>>>>>>>

IMG_0916

The northwest corner addition……

Now this is where things begin to get interesting.  We decided to add 3 feet to the back side of the cabin. At the time it seemed that these walls were going up so quickly, why not just add a little space at the back. It has been a rather large project, and me with only one arm to help with have not been the biggest help.  The width of the cabin is 19 feet, but we only added the 3 feet to 12 feet of the back because some trees back there had extensive root systems. We also found that the south west corner of the cabin has started to rot, which made the  addition off the back quite worthwhile, because otherwise we would never have found the rotting boards.

So here is a rough drawing of the reno of the cabin. The right side is east, and the deck and the lake.   Top north, left the bank and west.   This post is about the northwest part of the cabin, where we are adding 3×12 off the back.

IMG_0757

IMG_0204

First we dug down and found that the southwest corner of the cabin was rotting…. on the right side of this last picture.  So we cleared away the rot, covered it with metal flashing, and put in the 3 concrete forms, poured the concrete and then removed the forms, you can see them here

IMG_0764


IMG_0768IMG_0765

So what is being built here is the floor for the addition. Ken decided to build the floor before he took down the existing wall, to allow an area he could work on the frames.

IMG_0769

This is a picture from inside the dreary bedroom before the wall was replaced

IMG_0775

and from the outside. Half of the window was not actually a window but a piece of plastic.

IMG_0776

a portion of the IMG_0791
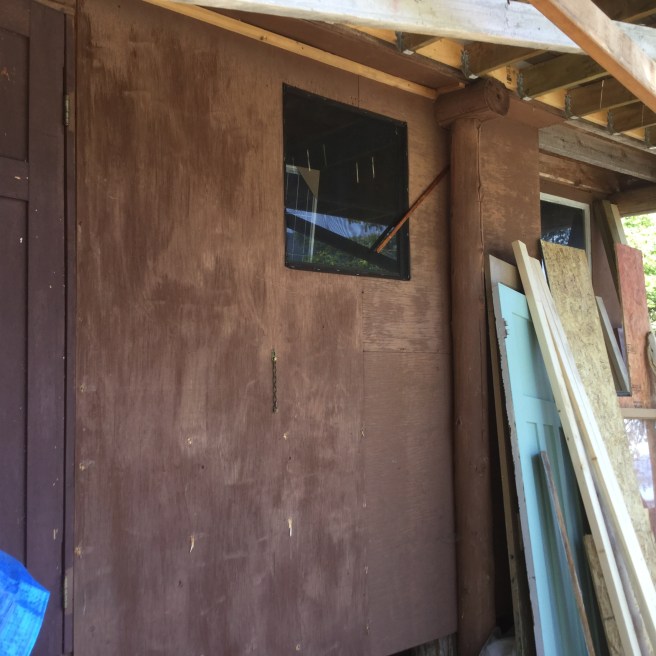
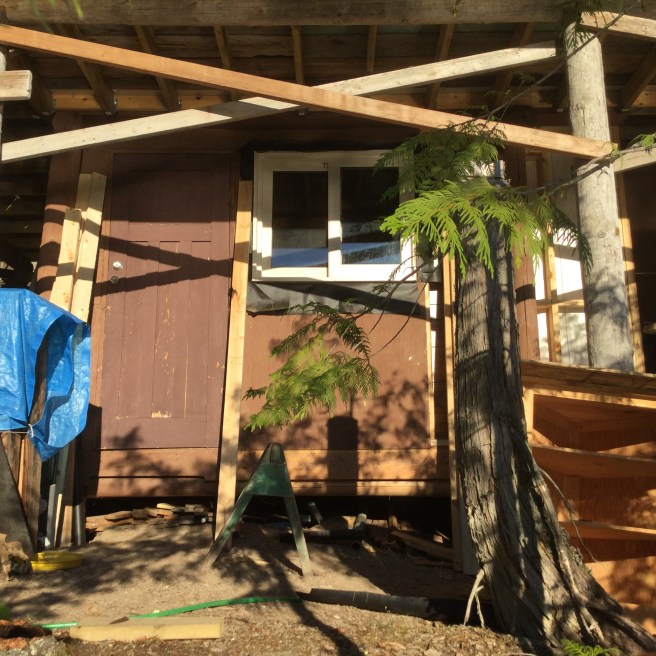
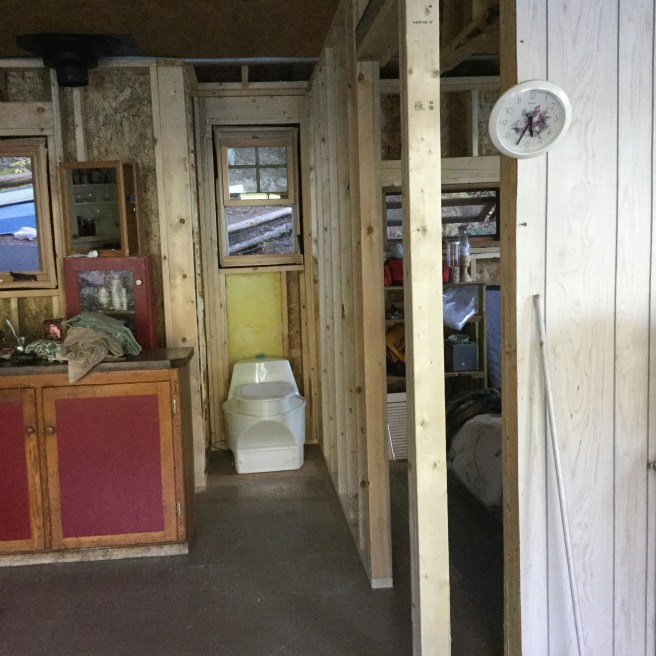
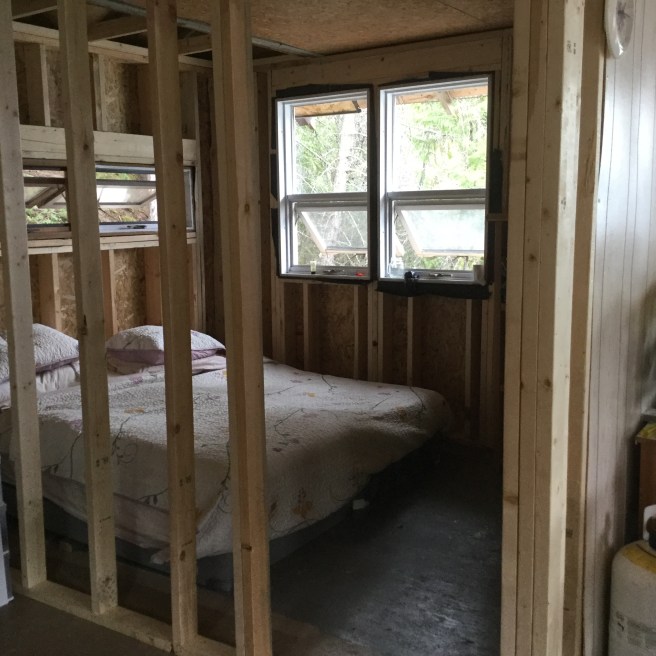
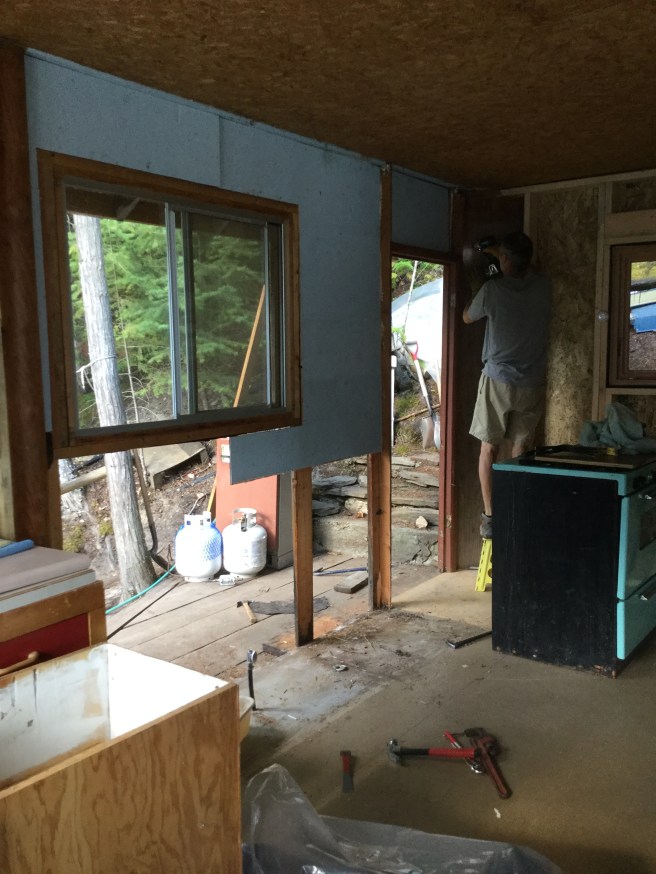
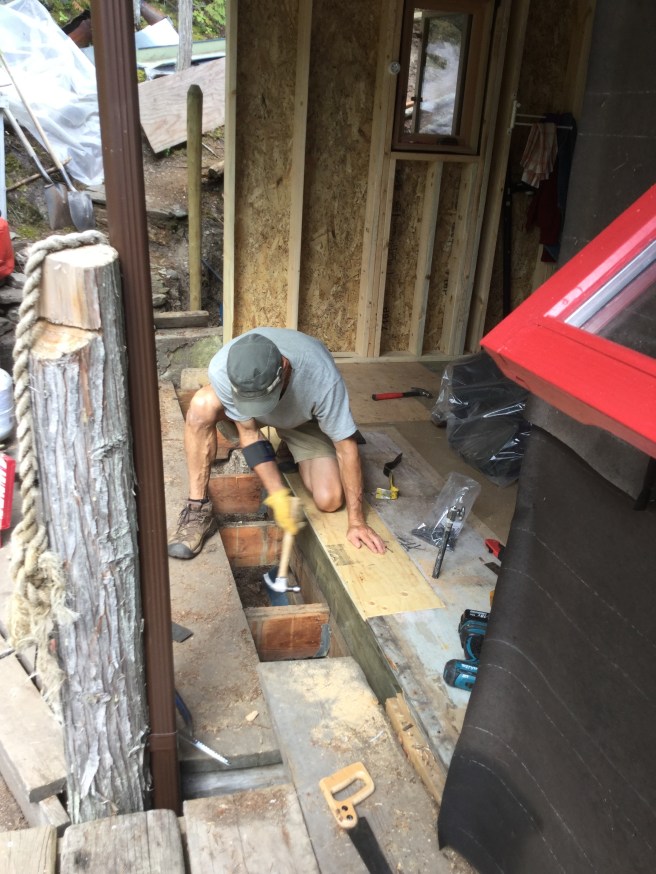
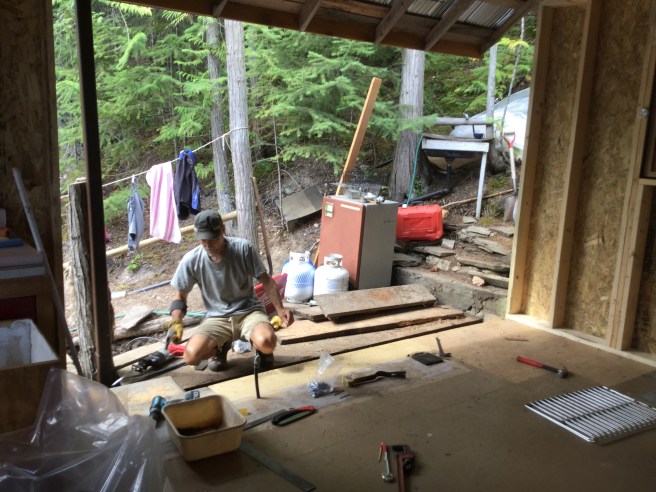
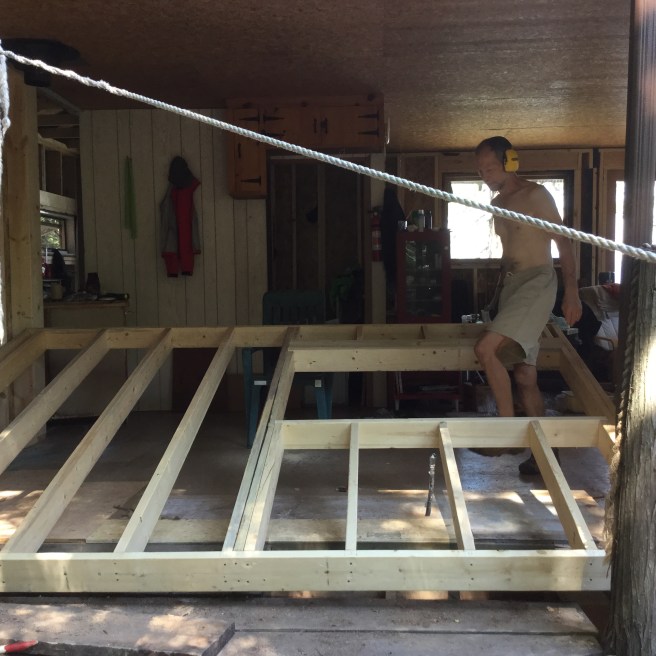
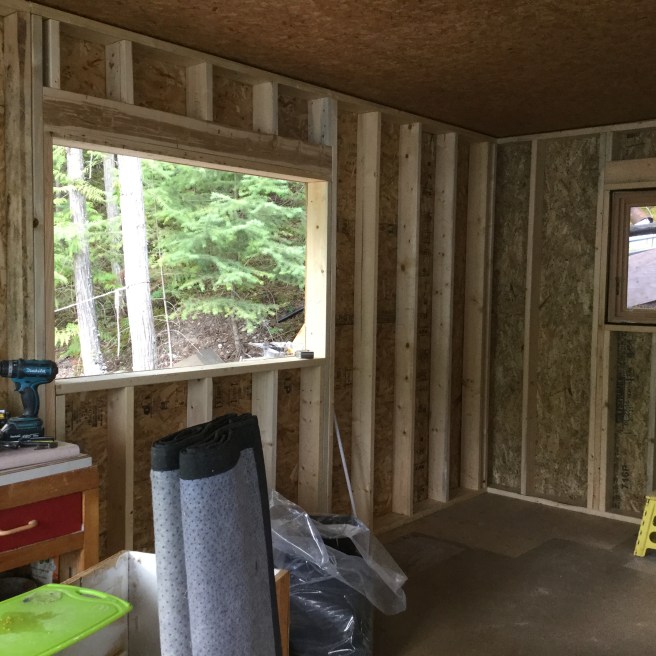
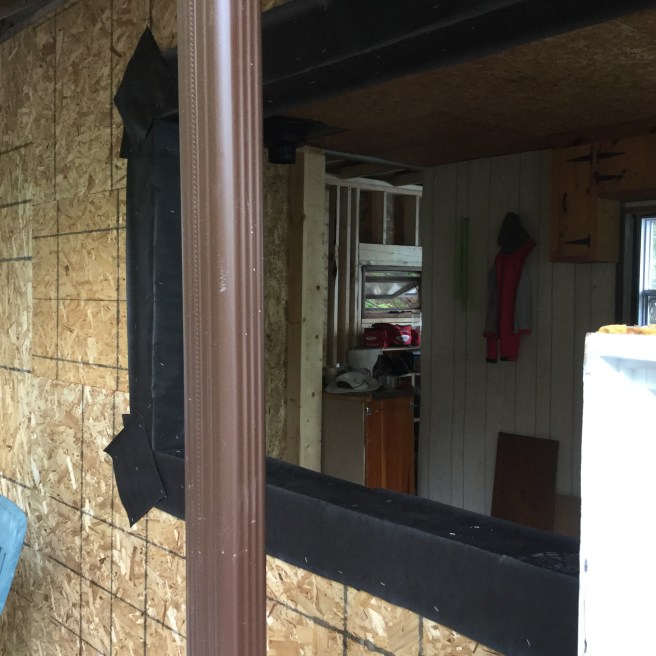
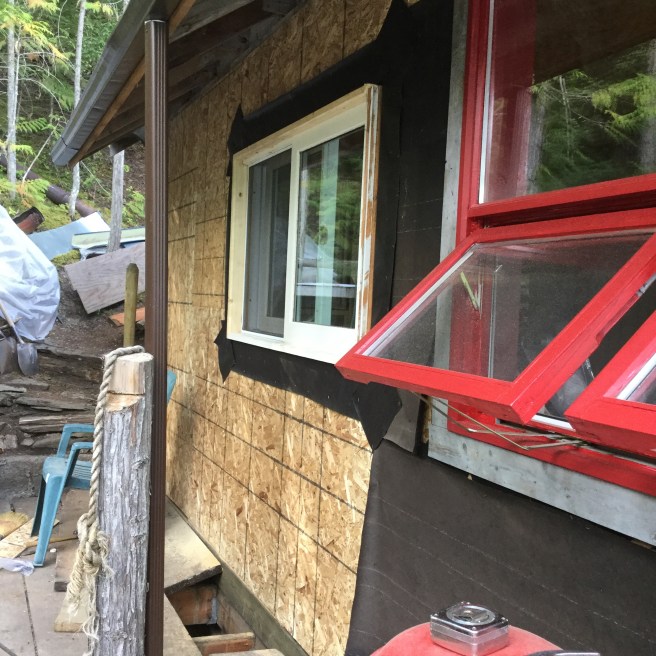
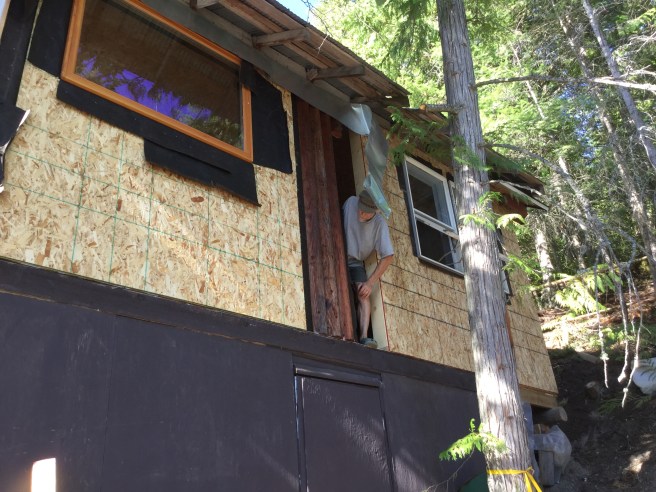
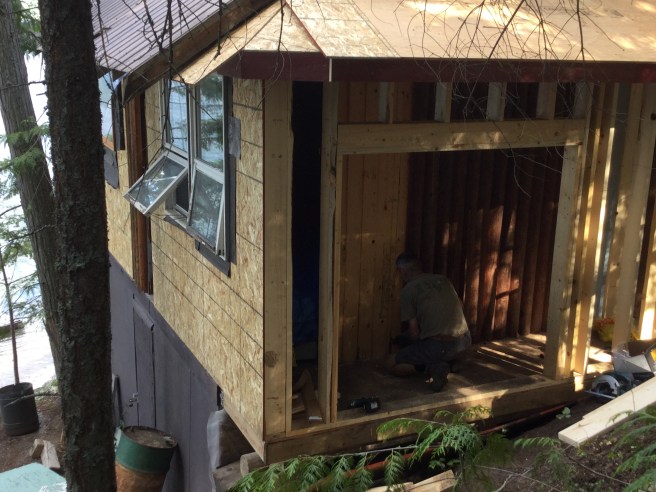
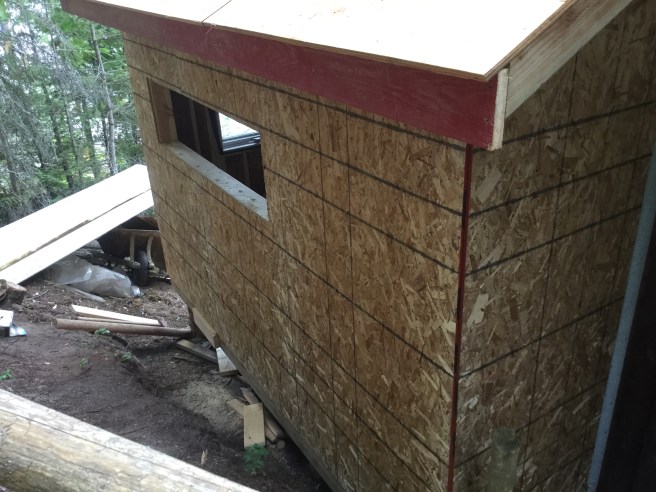
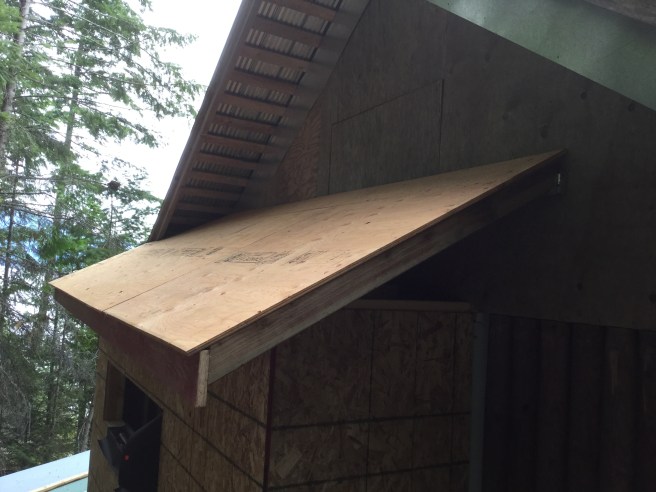
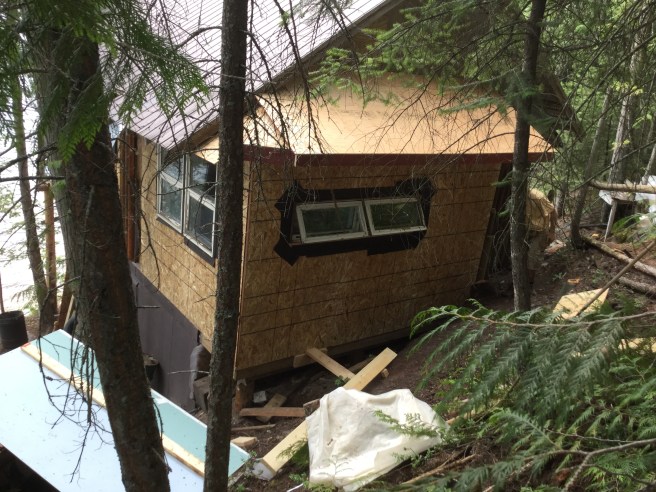
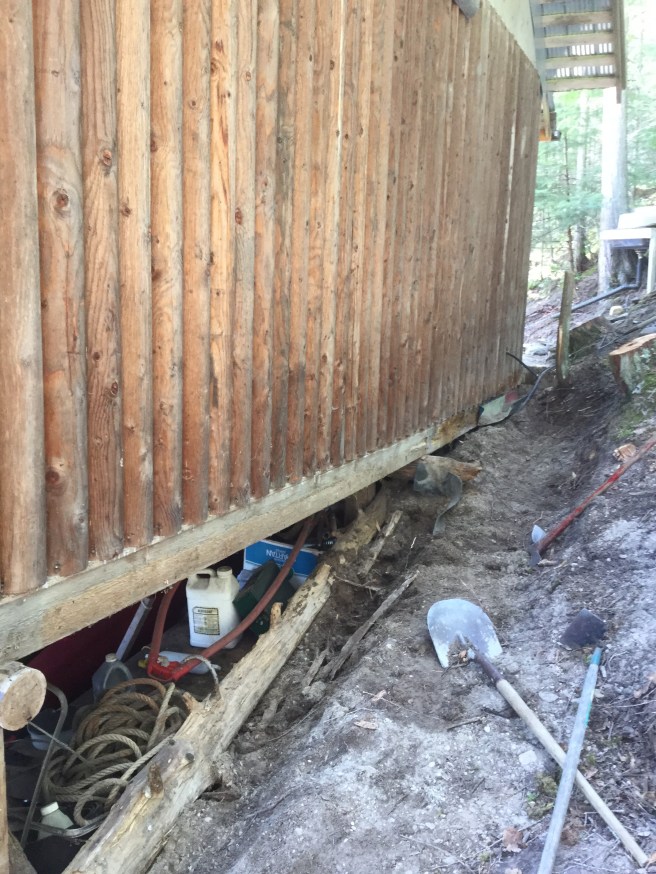
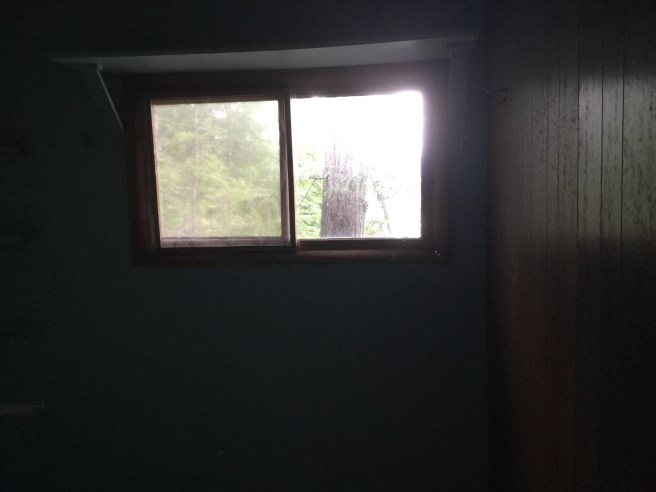
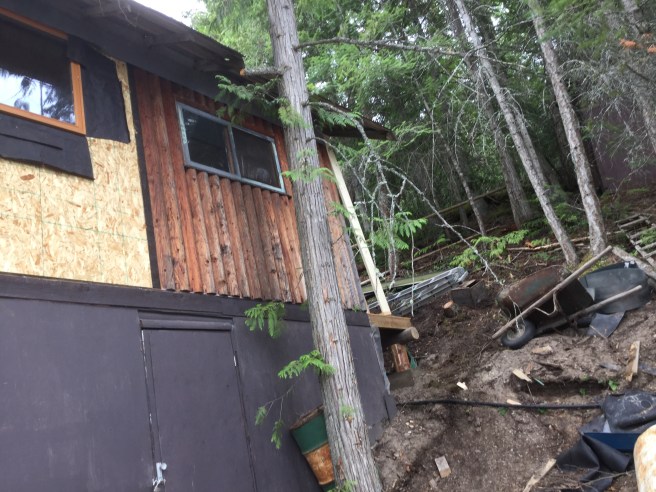
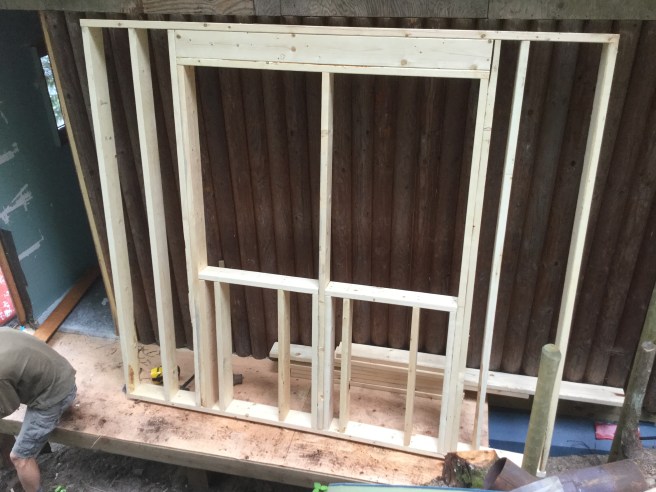
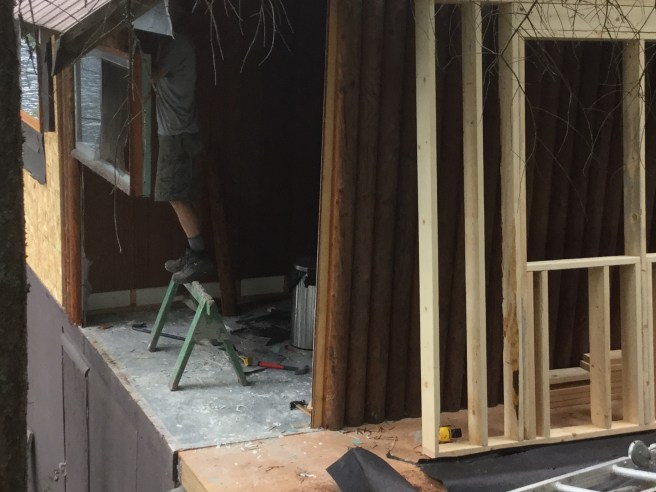
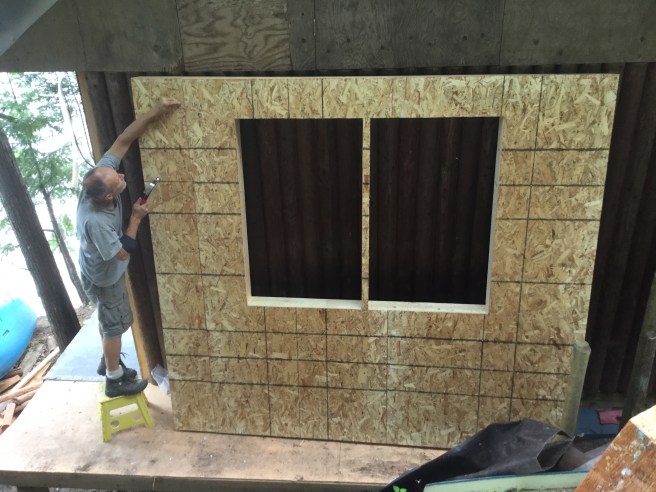
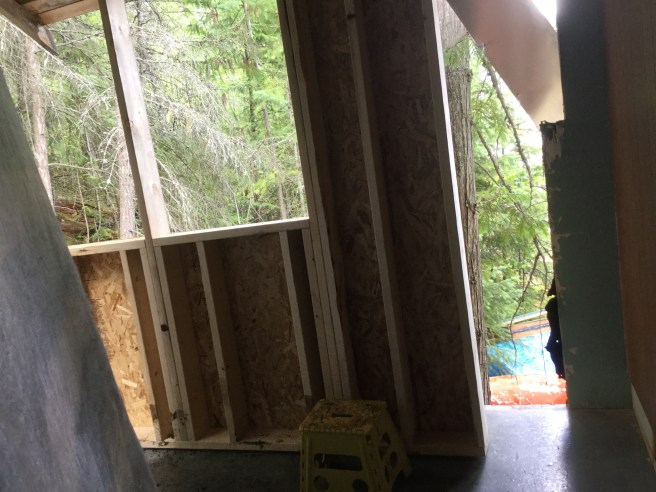
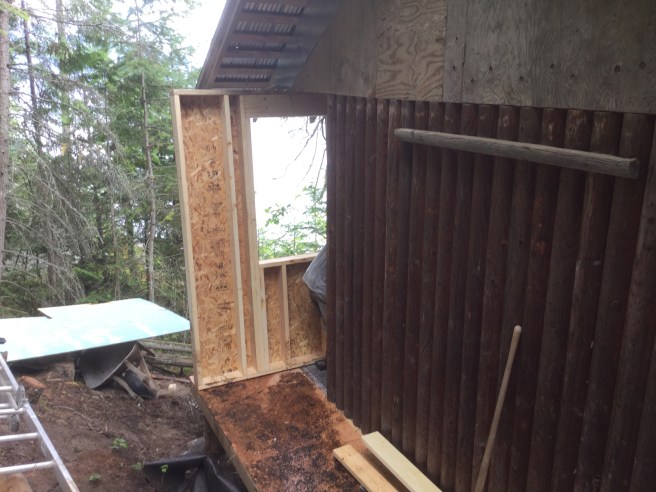
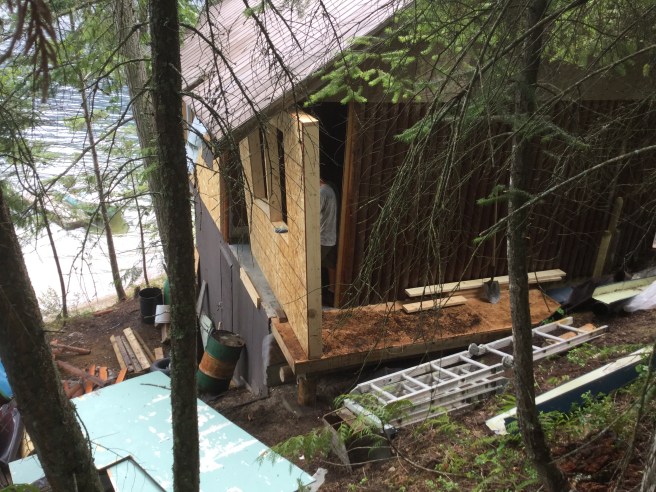
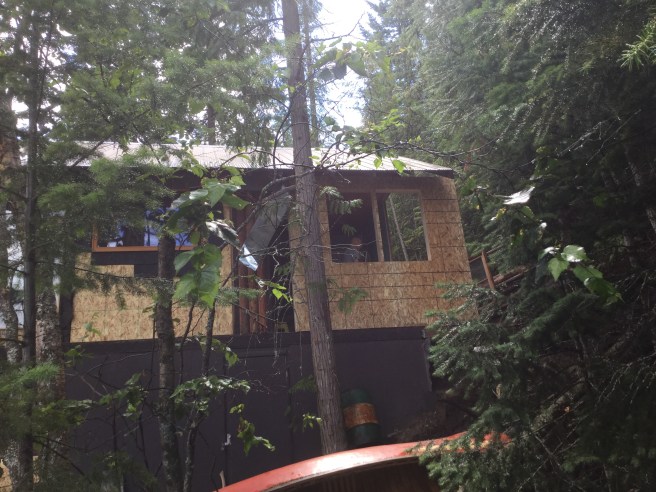
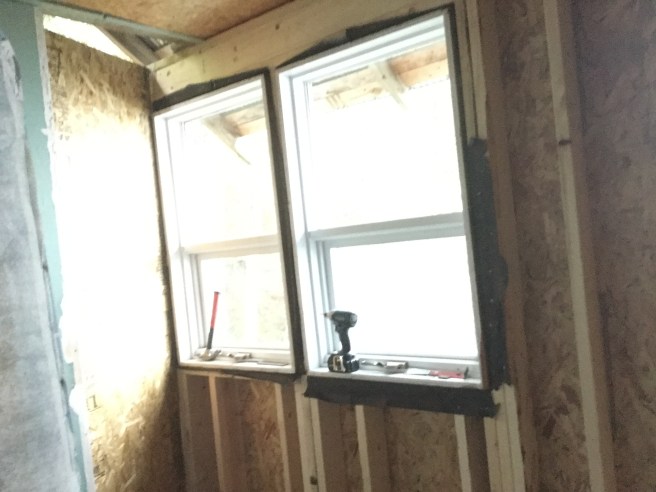
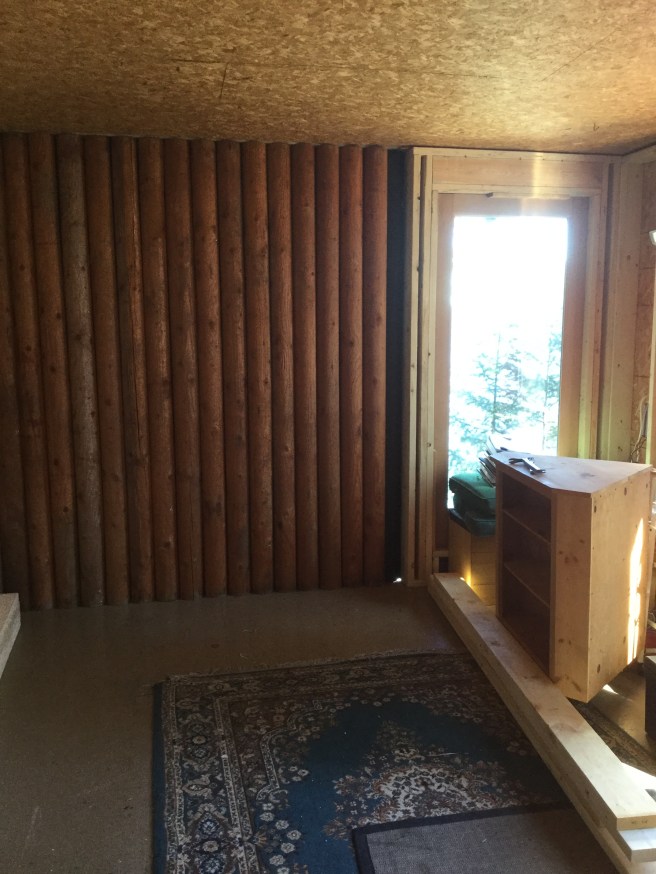
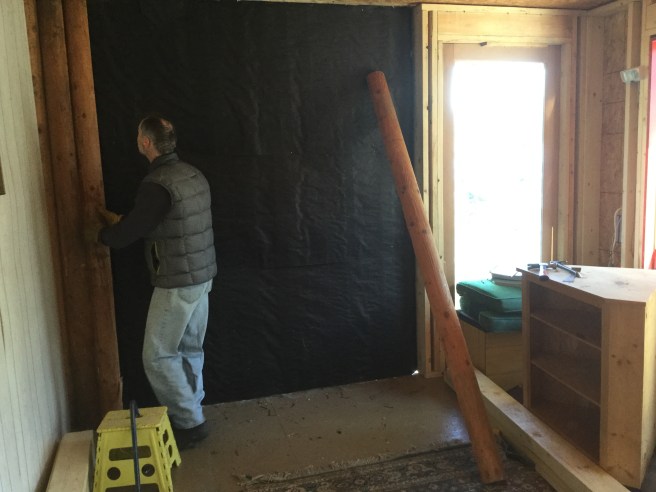
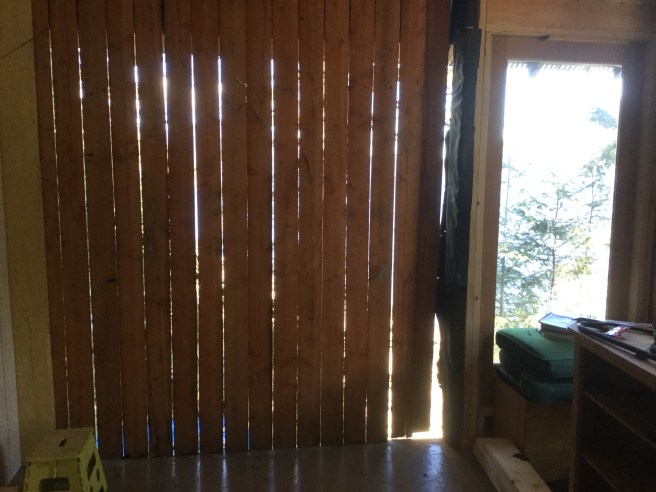
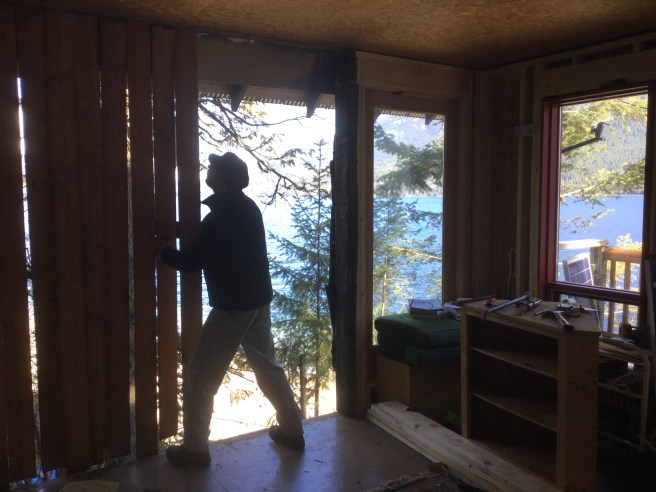
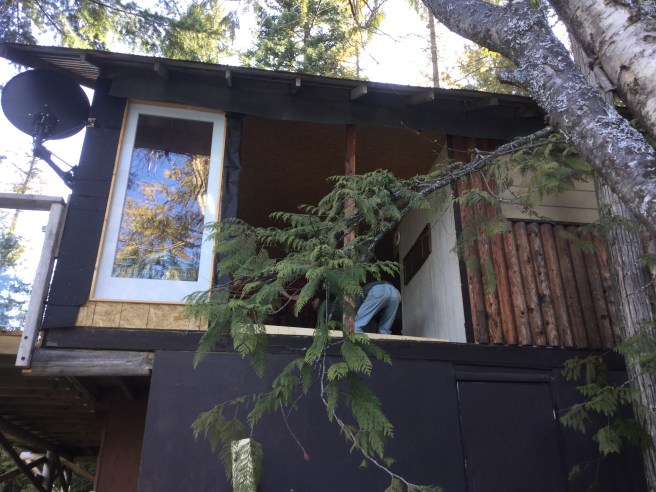
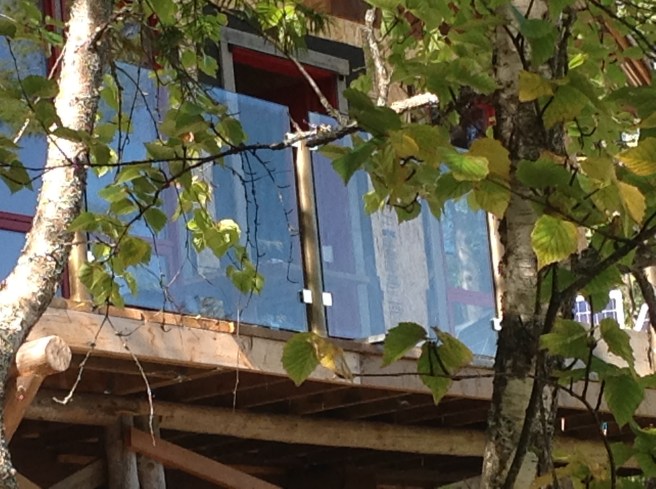
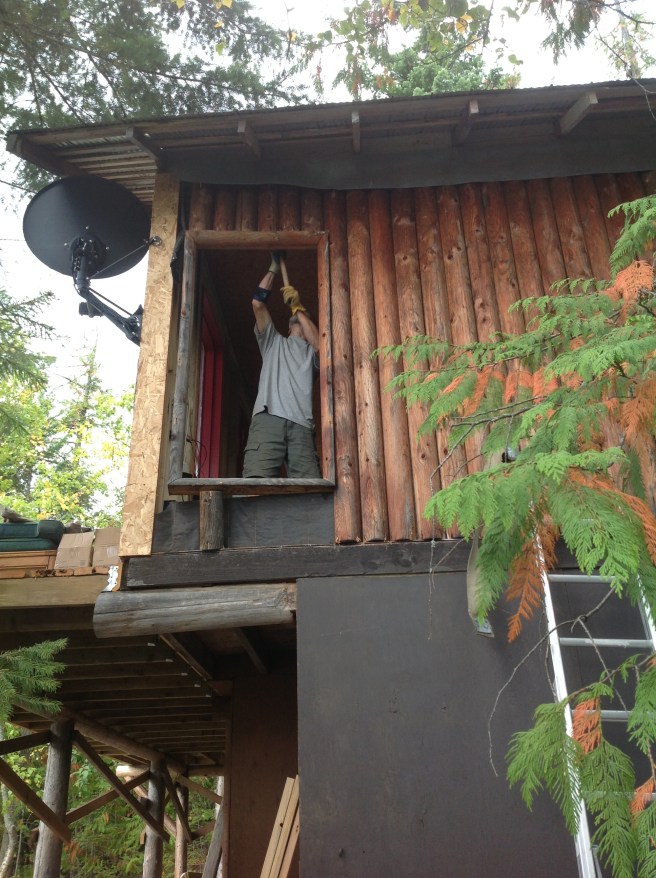
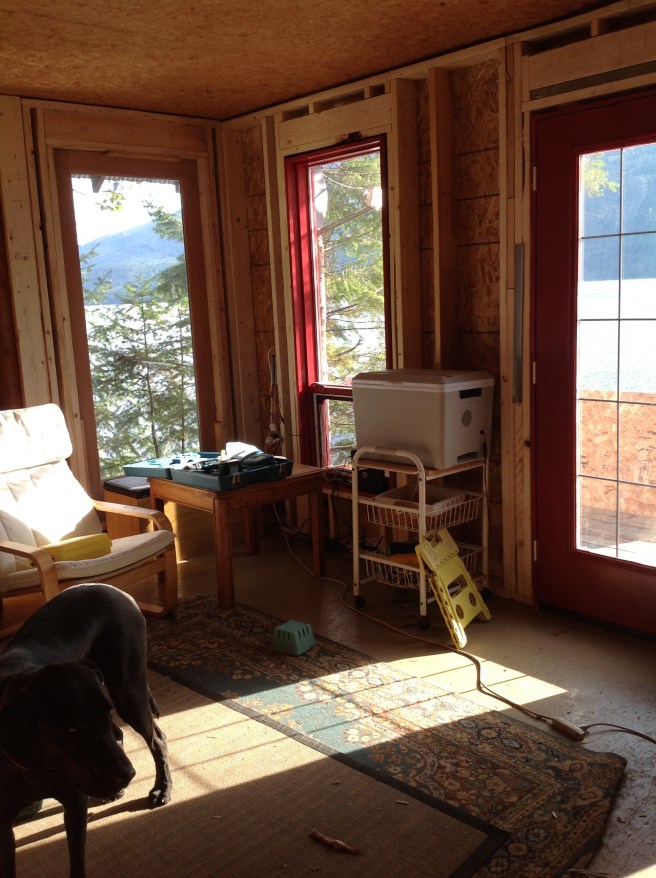
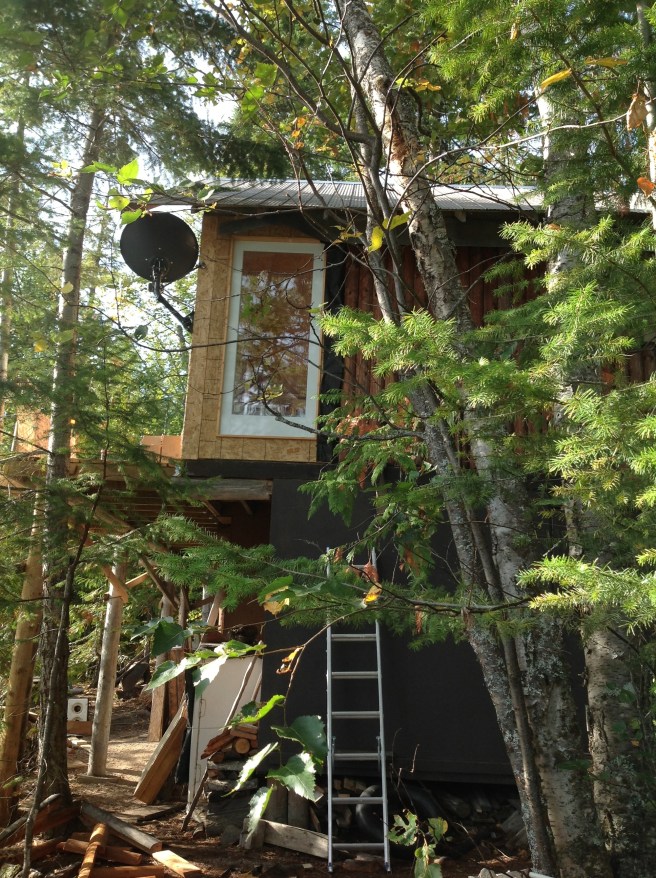
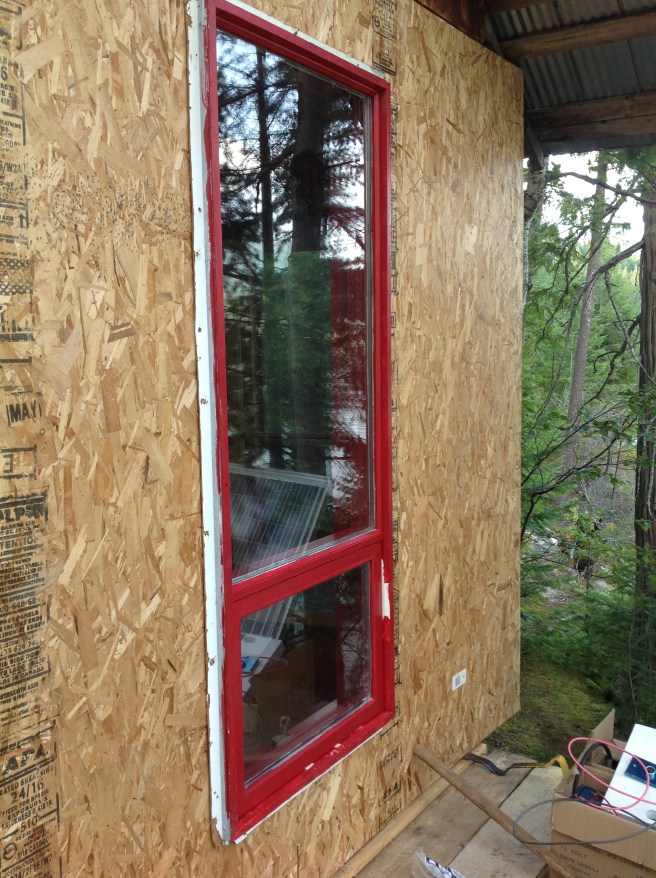
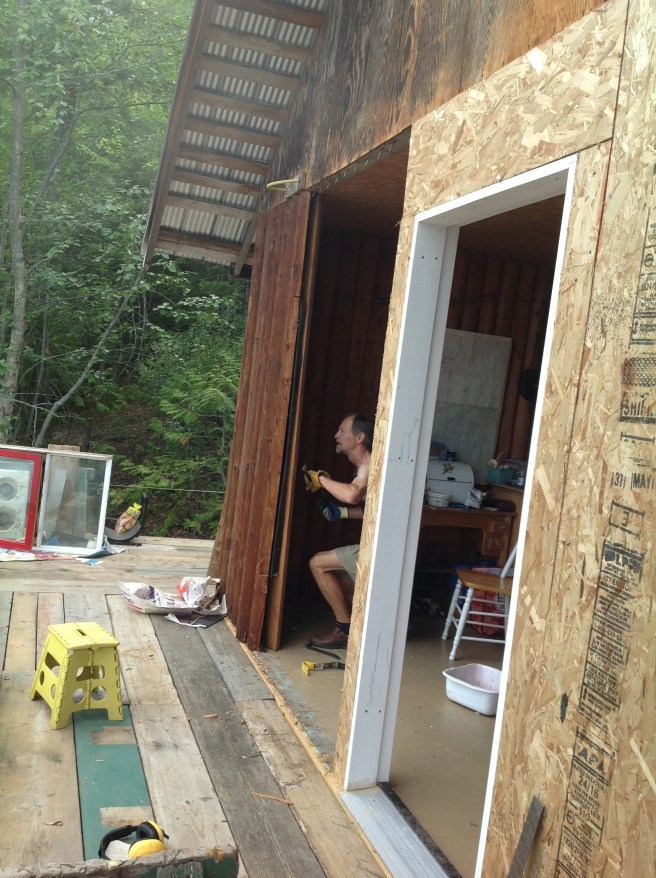
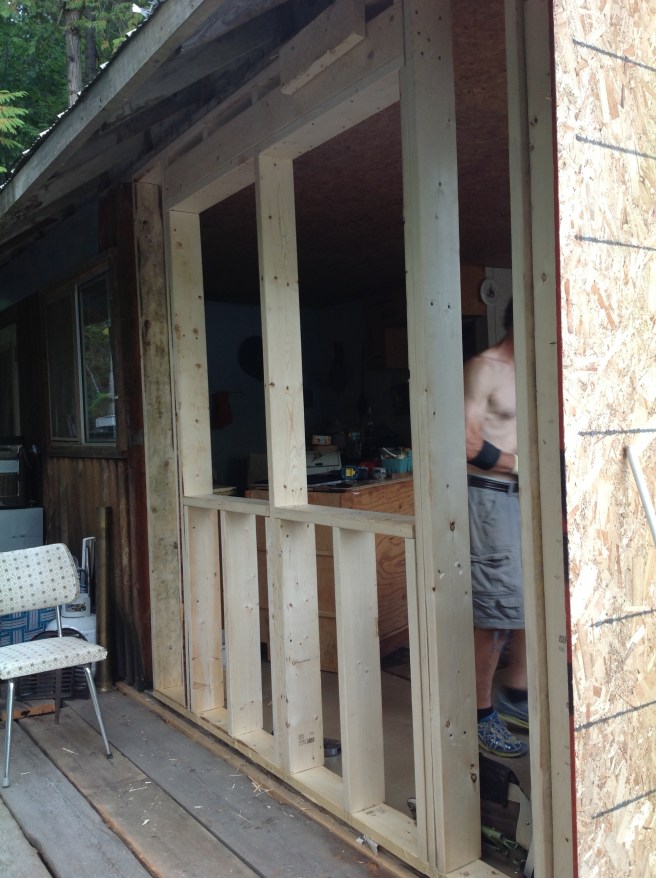
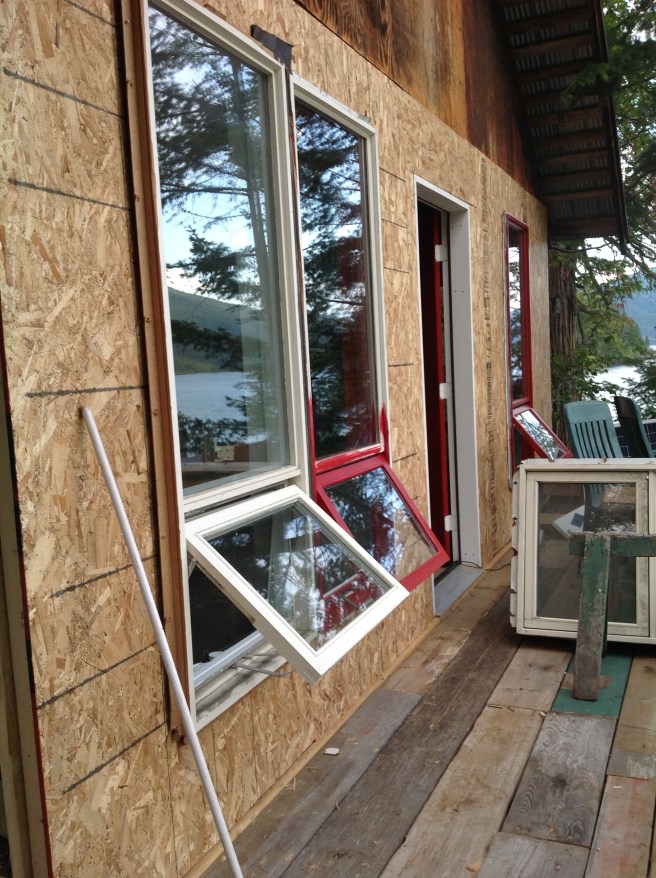
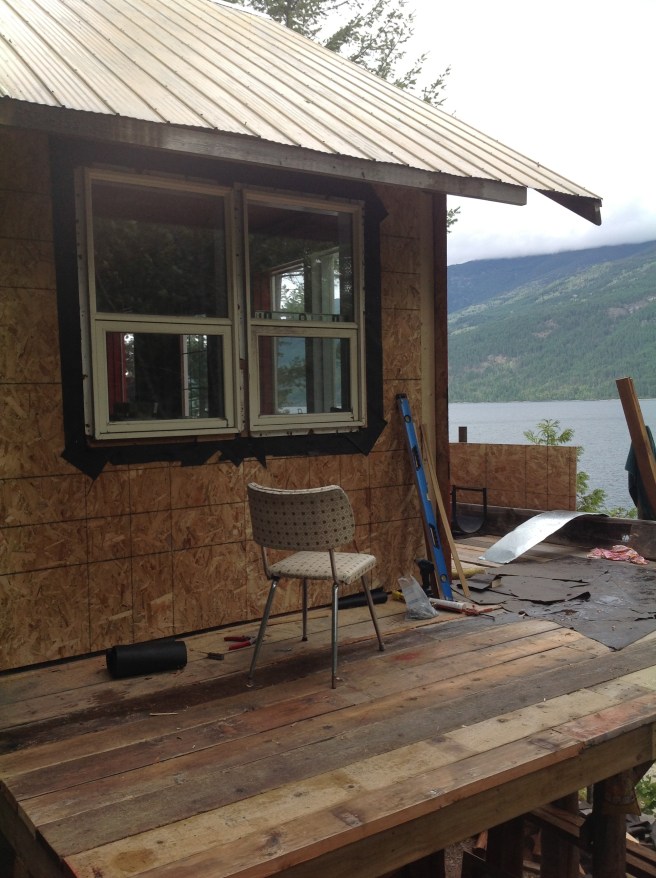
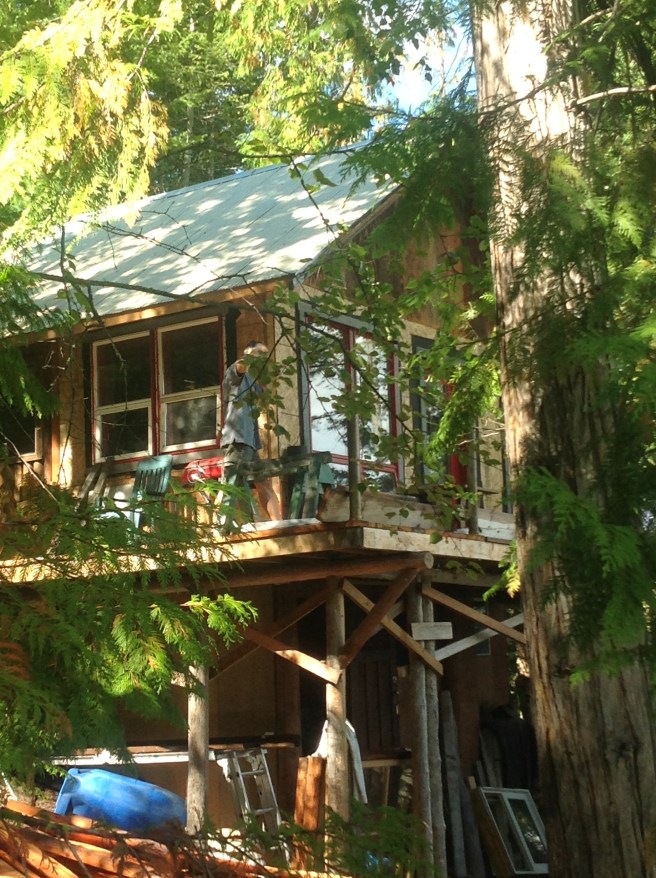
west wall of bedroom gone

and the frame for the north wall.

IMG_0784

IMG_0793

IMG_0802

part way there…..

IMG_0806

This was the hardest piece we have yet moved, it was so heavy and we had to get it all around the corner. So the west wall is still present and as you can see it was pouring rain while we moved this piece into place.

IMG_0807

another view….

IMG_0809

IMG_0810

IMG_0812

… and from the inside.  We then just boarded the open spaces closed as we were not ready to put in the west wall piece… and that is the one to put it all together.

So until then…………………………..

IMG_0818


… and then after the rain……


2016 Onwards with the north wall….

When 2015 ended for the cabin…..IE when it gets too cold to take the boat out, we decided to leave some building materials out in cabin, so we could get back to work EARLIER in 2016, than we started in 2015. Everything is dependant on the boat running for building. WE CAN hike down the path way, it is a 10 minute walk down a trail that drops 500 feet in altitude.  No way to bring building stuff down this path. So we started 2016 by putting in another window/wall piece on the north wall.  Like before removing inner half rounds first and then outer half rounds.

IMG_0157

IMG_0160

IMG_0163IMG_0166

Then building the frame on the floor.

IMG_0171

PHOTO from the outside (the north side, the lake to my left)

IMG_0172

THEN because this part is so high off the ground AND no scaffolding, Ken added the plywood while it was on the floor. Make it heavier to work with, but easier than lifting the plywood up 9 feet or so.

IMG_0174

THEN we lifted the frame up, anchored it in place, then added the window.  JUST IN time for evening, when it was really cold, so nice to have the wall up and the window in.

IMG_0180


We could not do anymore work on cabin before our trip to Spain at the end of April, because of time constraints and boat restraints.  WE never get anything done when the boat is broken down.  TO BE CONTINUED…………… I am excited to catch up to where we are now, but do not want to miss anything

janet


The last thing we did in 2015…….

SO the very next thing we did was to get a railing on the deck. We had found some brass posts at an antique store and had been waiting for a place to put them…. and then on Facebook a friend was selling some 1/2 inch tempered glass deck railing that had been an 1/8th inch out off of what was intended for the fancy schmancy deck for a house on the shuswap.   Now getting the glass out to the lake was a bit of a challenge, but the friend who sold them to us, also helped us get them on the boat, and up to the cabin.

IMG_0537

So now we do not have to worry about anyone or anything falling over.

The next step was to put the door/window in the north east corner.  We were struggling to find a window that had the height to show the view to the north part of the lake, and we found a store that was closing/retiring and selling all the windows/doors VERY cheap, so this door/window was tempered.   First step was to tear out the existing boards.

IMG_0545

outside view

IMG_0546

The construction of the 2×6 wall. Everything was cut back at home and pieced together here.

IMG_0552

Then we angled the wall under the existing wall and hammered the bottom of the frame in with a sledge hammer.  (to MAKE it fit)

IMG_0554

IMG_0561

Then POP the window into the space.  Such a nice view.

IMG_0562

what it looks like from the outside…….

and……IMG_0923

ancient indian writings on a cliff/waterside up the lake.    THIS ends the projects for the 2015 year. After this we went down the coast of Washington/Oregon/California for the winter.    TO BE CONTINUED…………………………

I WILL catch up to present time soon………..  (July 17th 2016)


The east wall…..

IMG_0471

So the first step on the east wall (the one facing the lake) was to tear out 8 feet of the wall. In each case of “wall tearing out” we had previously calculated what was going to replace the wall.  In the case being shown in this first part, it was a door (with windows) and a large window.  Ken had made the plan back in Scotch Creek, and cut all the 2x6s to size and we had brought them ( and the window and door) in the boat, to the lake. He had then built the frame on the deck and we had then tipped it up into the space left behind by the previous wall. ( I will show this more clearly in upcoming walls)

IMG_0861

You can see here that the frame for the door has been put in first.IMG_0470

then the window framing…IMG_0472

the put the window in, and the door

IMG_0476

Then the plywood to make the outside wall. The windows that my sister gave me where painted white and not sure HOW but they became RED…..IMG_0480

AND THEN we start on the OTHER side of the door.  KEEP IN MIND when I say “we” I USUALLY mean Ken  🙂    So this is the next step. So the initial wall was the east facing wall and this next step completes the east facing wall and begins on the south facing wall.IMG_0486

I should point out that the cabin had one small window on the south facing wall and when we started going to cabin on september 11 2014, we could not actually see anything in cabin after about 3 in the afternoon, with essentially no south facing windows. TOTALLY CANDLES  …… THIS step changed all of that.  SO Ken is standing on the south wall area in this picture.IMG_0487

So this IS the outside of the south wall, framed at least.  This window pair changed everything, as it brought in the sunshine.

this next picture is the east wall, facing the lake. WITH WINDOWS.

IMG_0488

THIS is the south facing wall with windows.

IMG_0490

IMG_0522

So this is the southeast view of the most recent renovations. (circa August 2015)    I should point out that all of these changes were made last summer and I felt that prior to posting the most recent changes, I should bring the story up to date.

TO BE CONTINUED…………………………………..